


Andreas Park PRO
Professor of Finance at UofT
Interactive Exercise 1: Obtaining a wallet & transfers
Andreas Park
Background
Notes
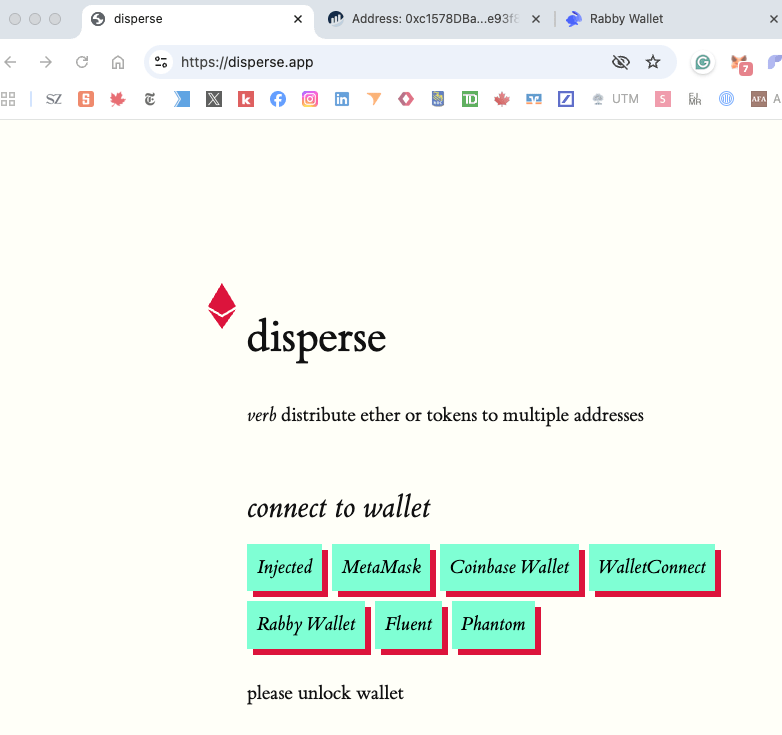
Websites that we are using
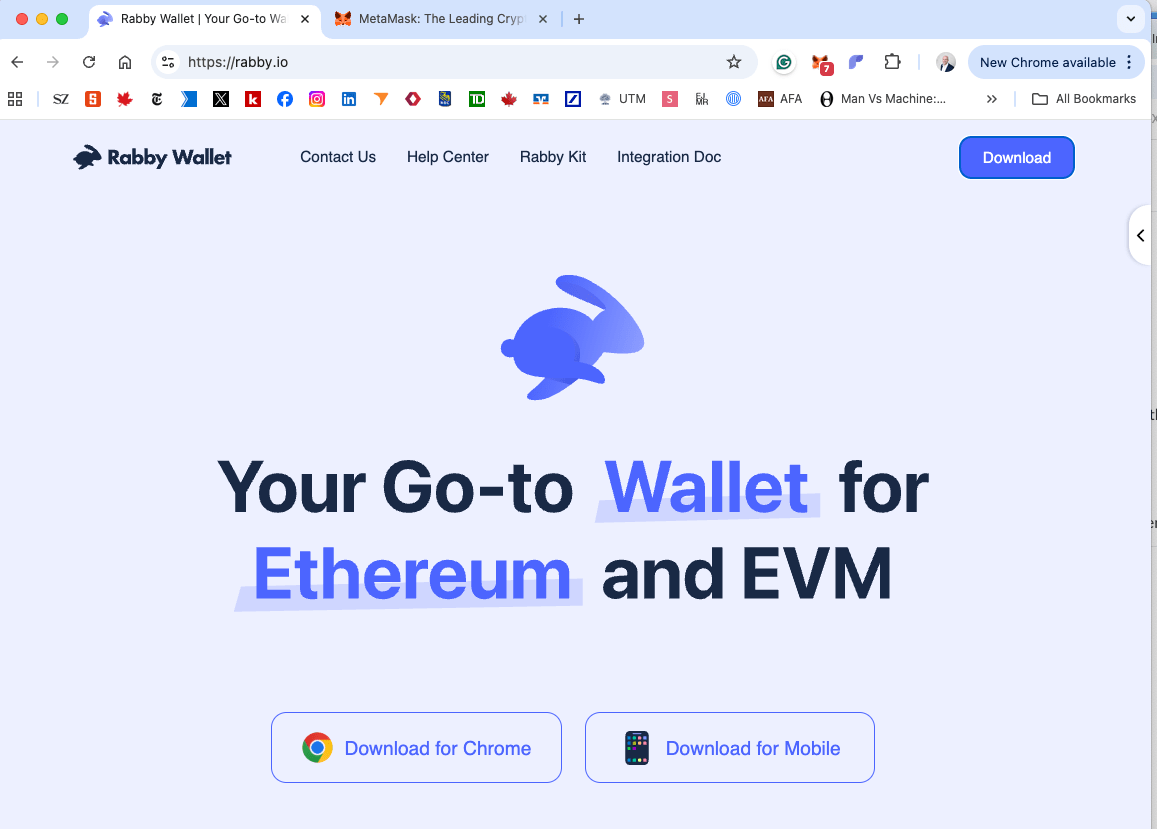
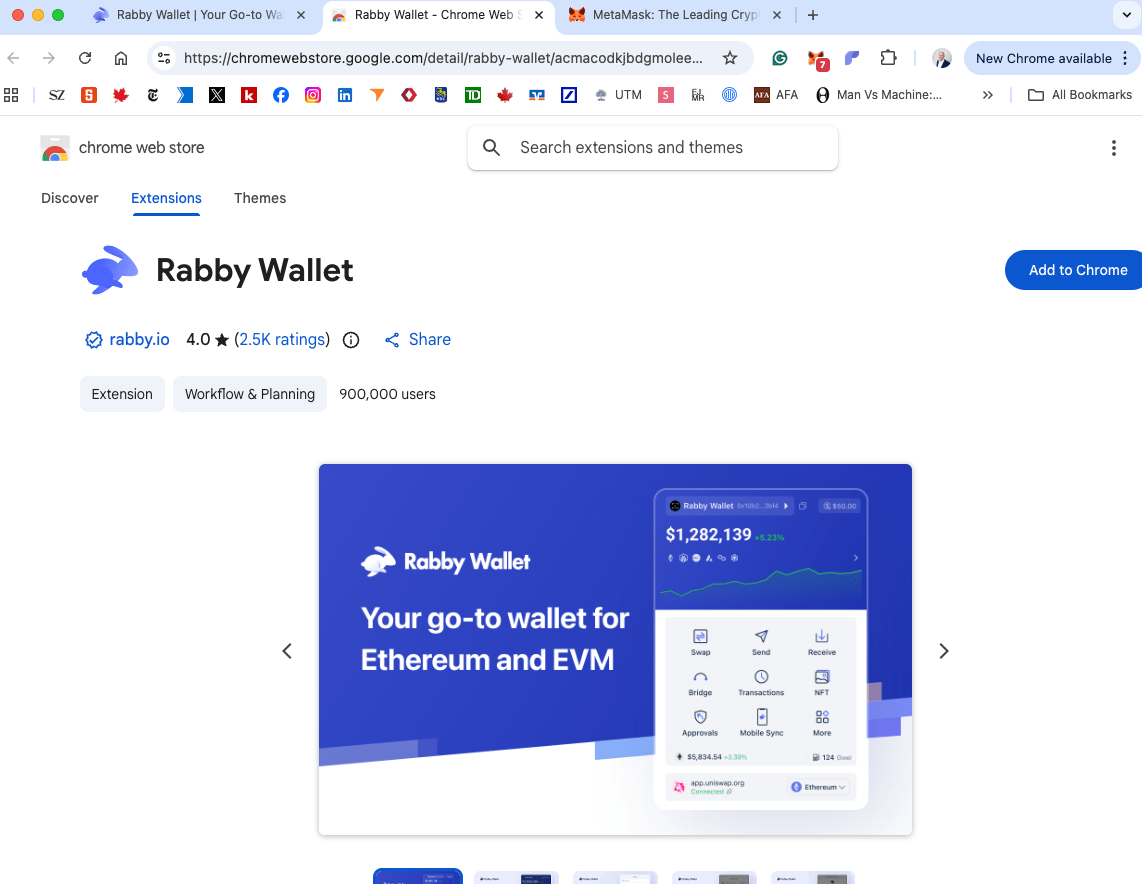
https://rabby.io/
https://metamask.io/
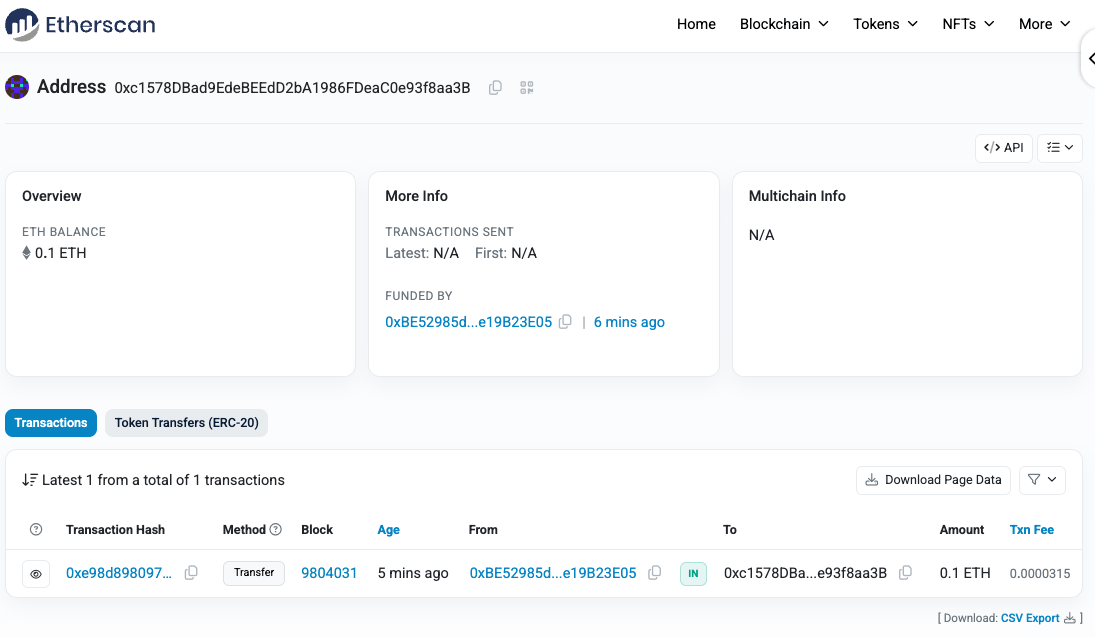
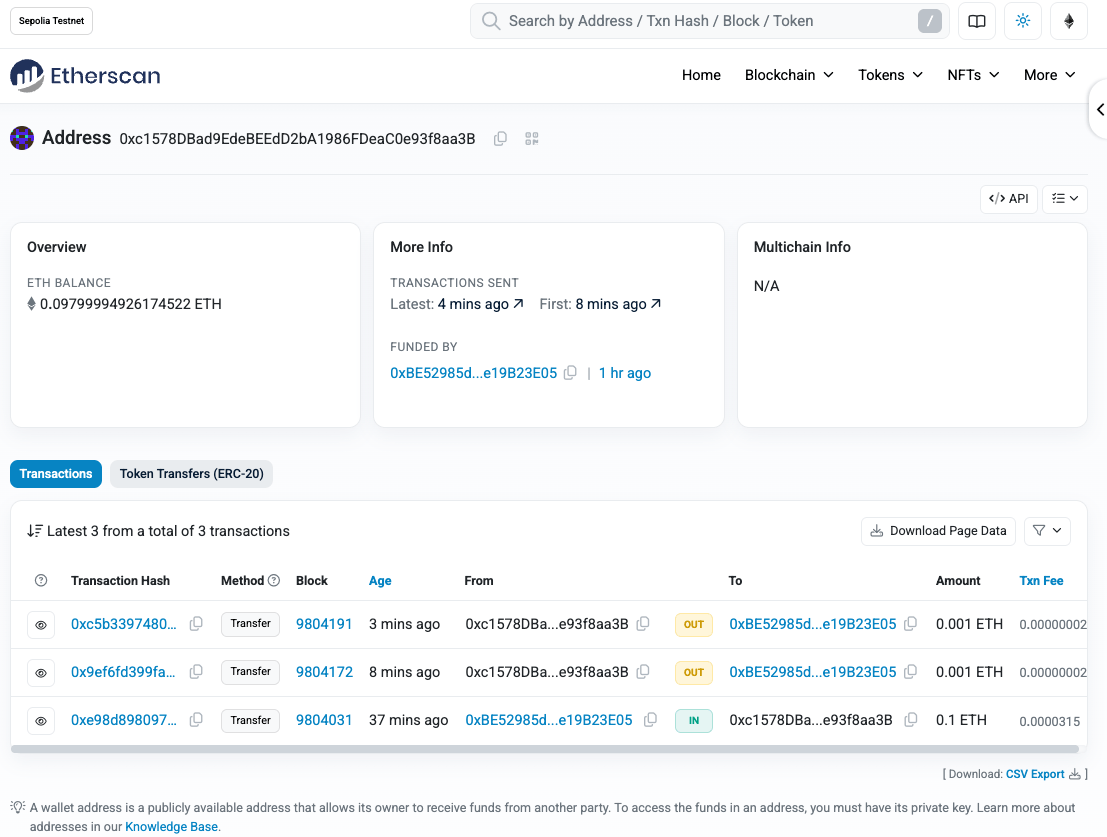
https://sepolia.etherscan.iohttps://disperse.app/
Smart contract accounts
Externally owned accounts
controlled by private keys
private
key
public
key
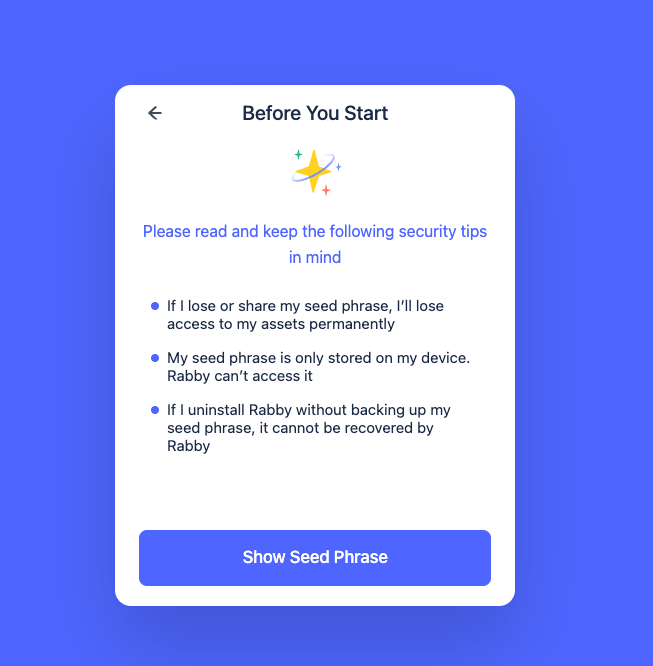
seed phrase
public
address
wallet = software to keep and use private keys
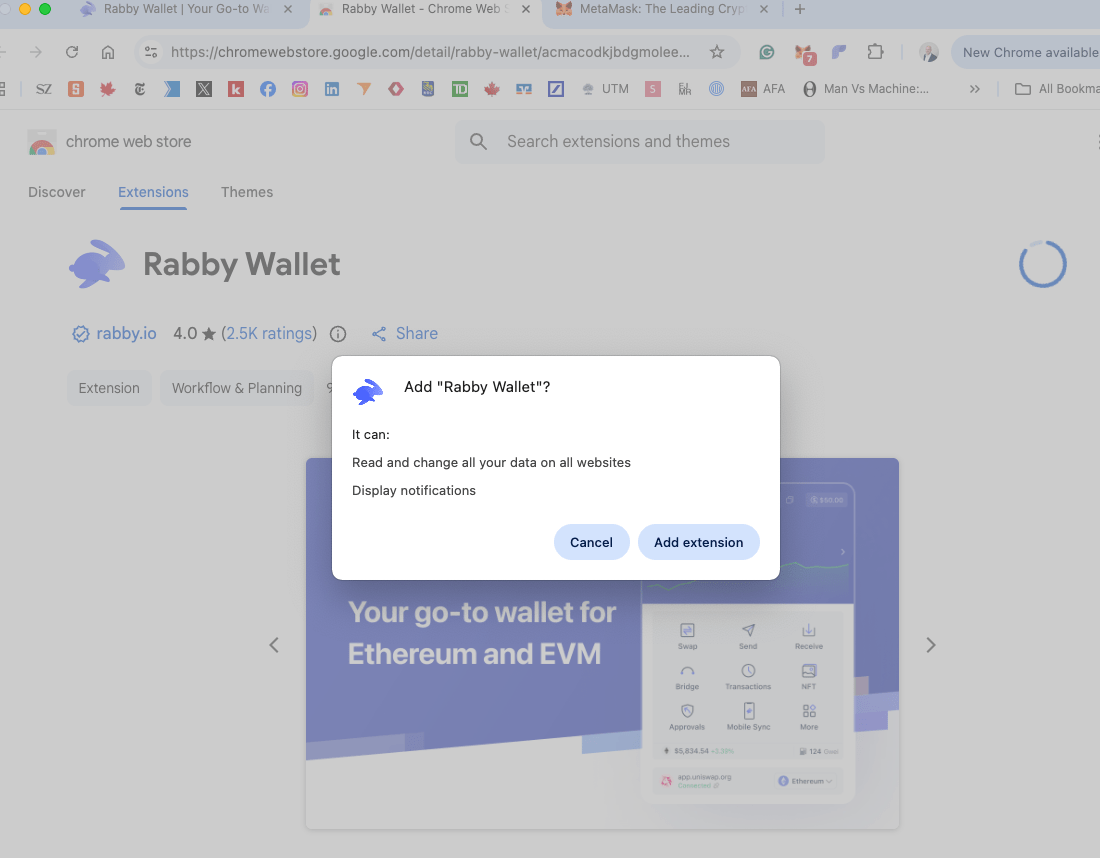
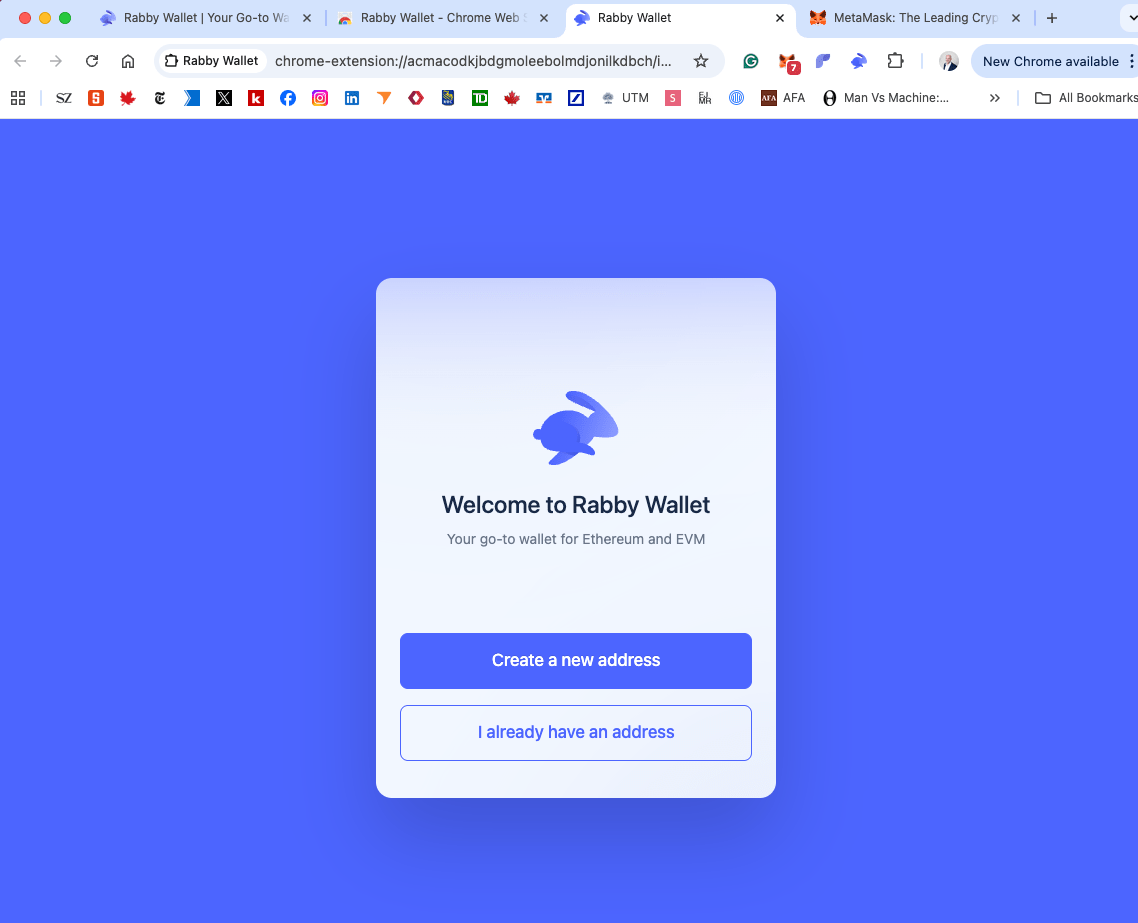
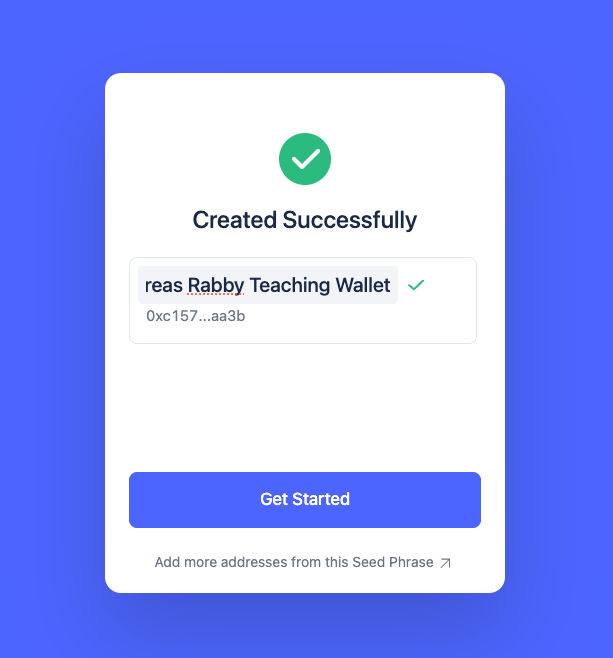
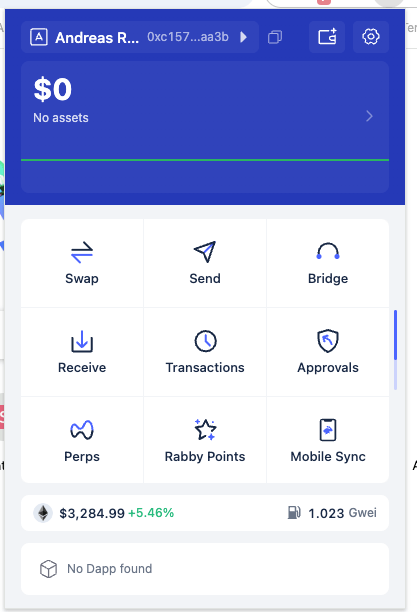
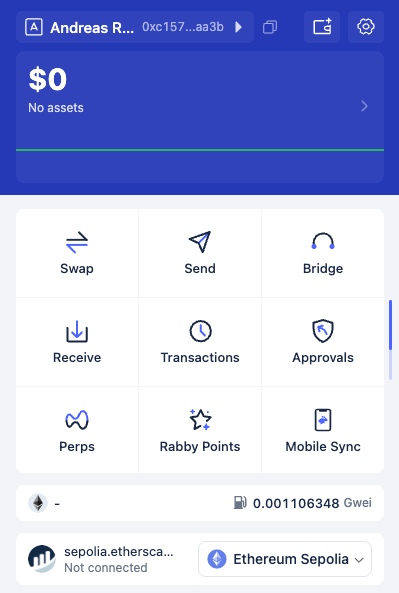
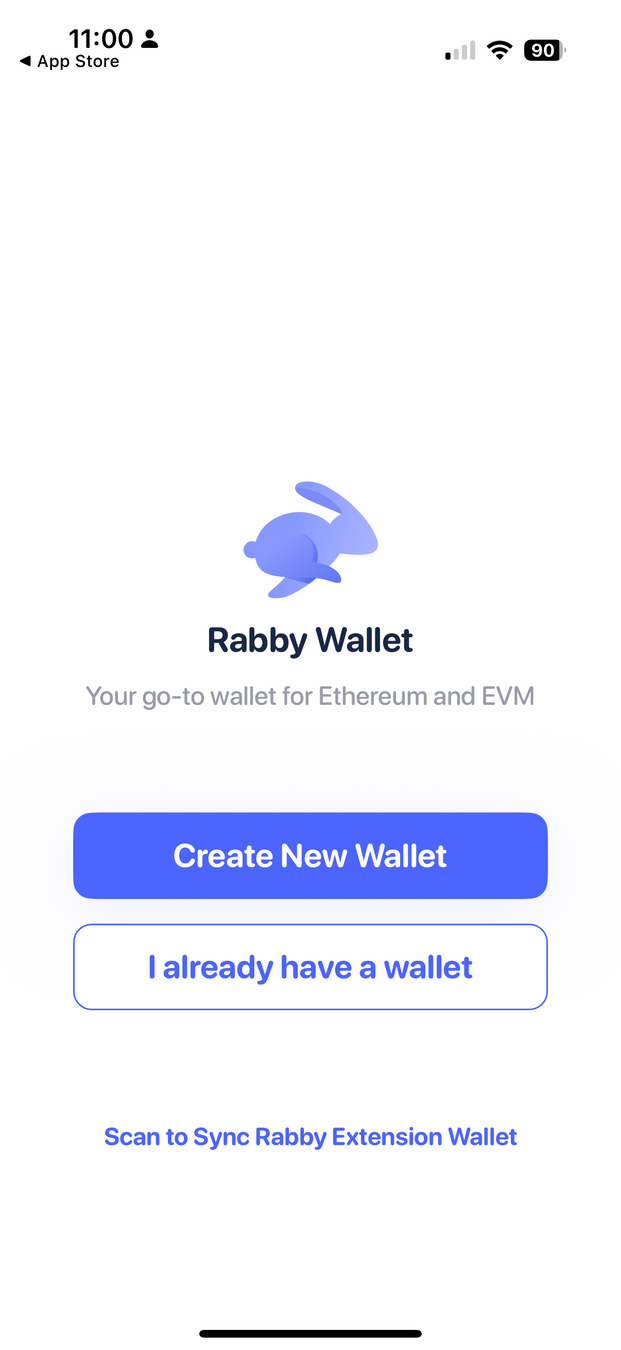
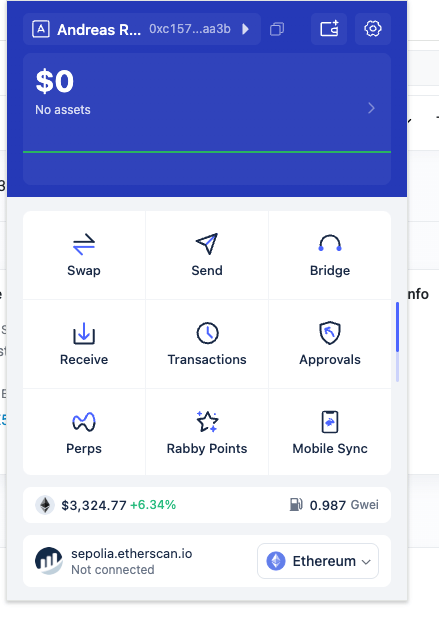
Part 1: Wallet Creation
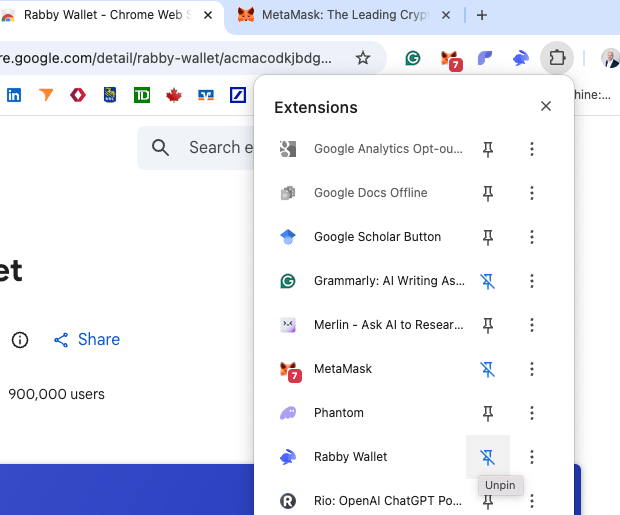
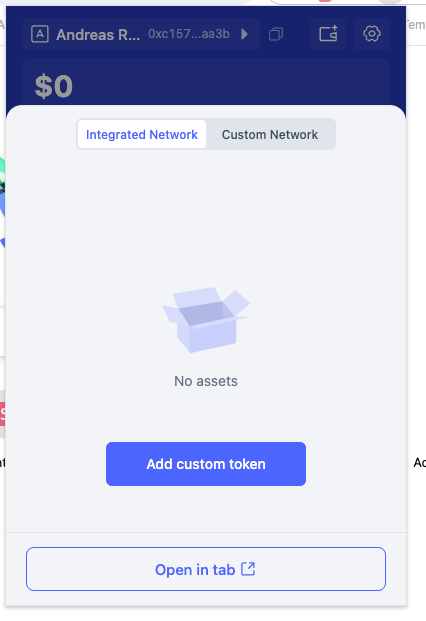
"pin" the wallet so you can see it
click on the symbol to see your wallet
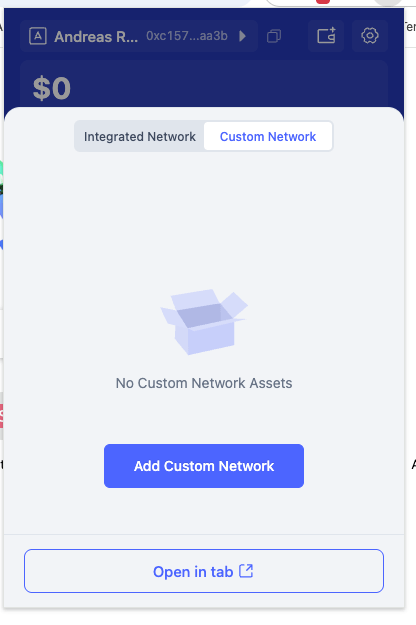
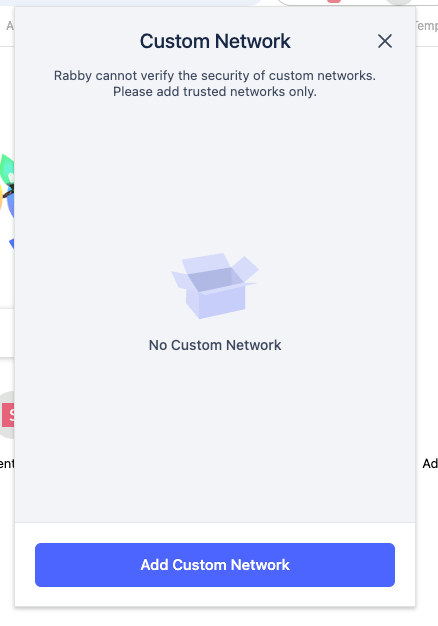
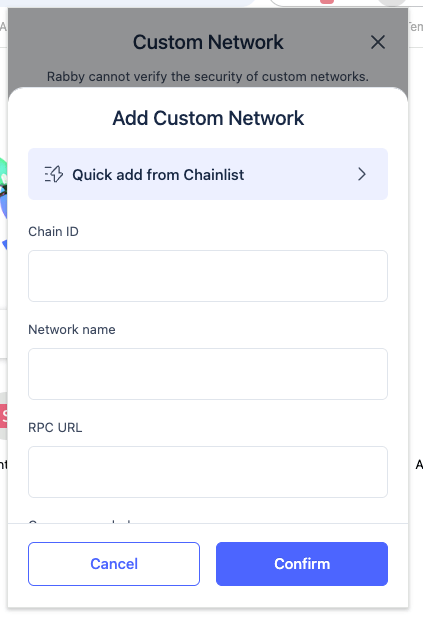
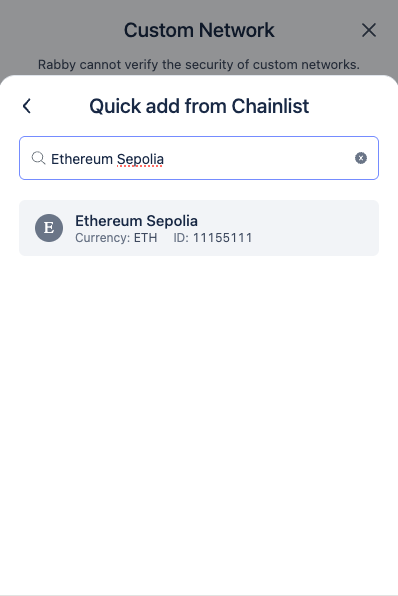
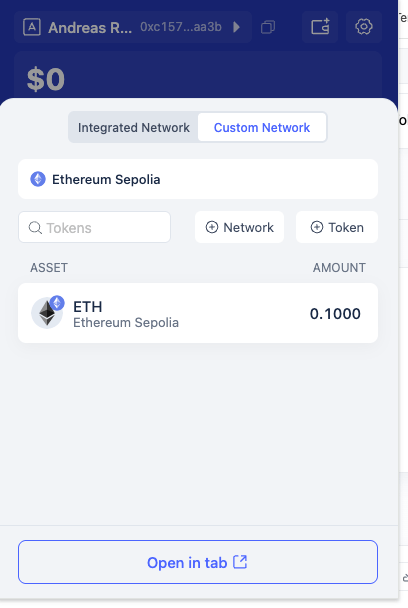
custom network
Add Custom Network
Ethereum Sepolia"assets"sepolia.etherscan.io
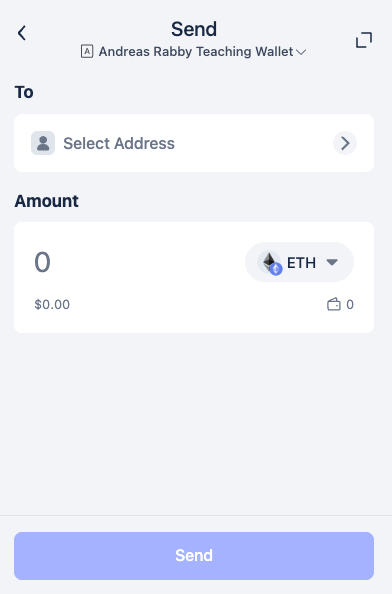
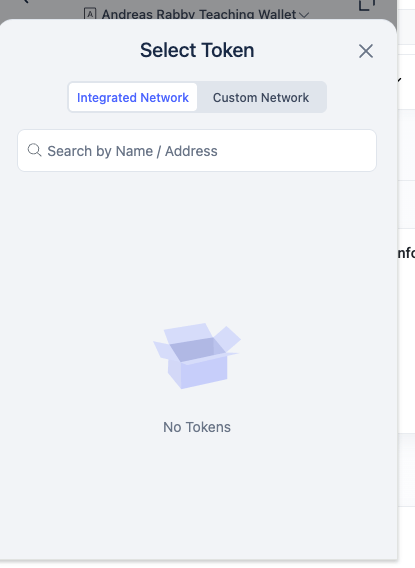
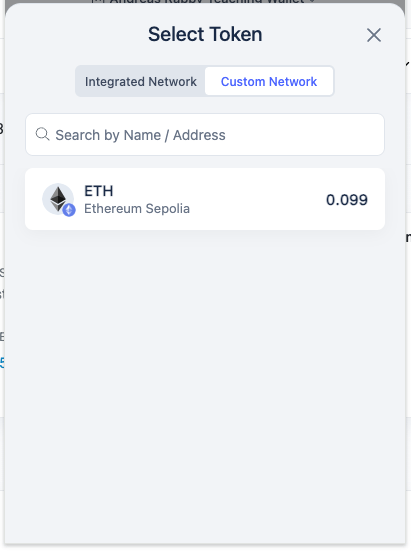
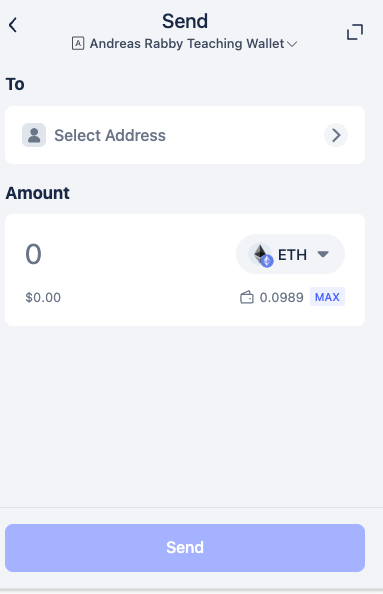
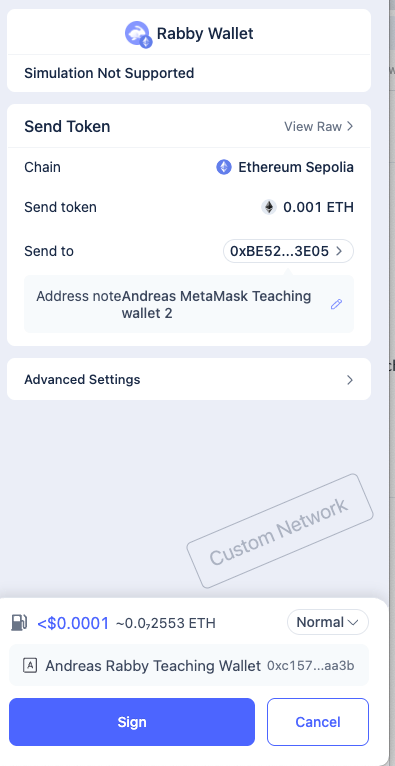
Part 2: Sending Funds
Sending funds
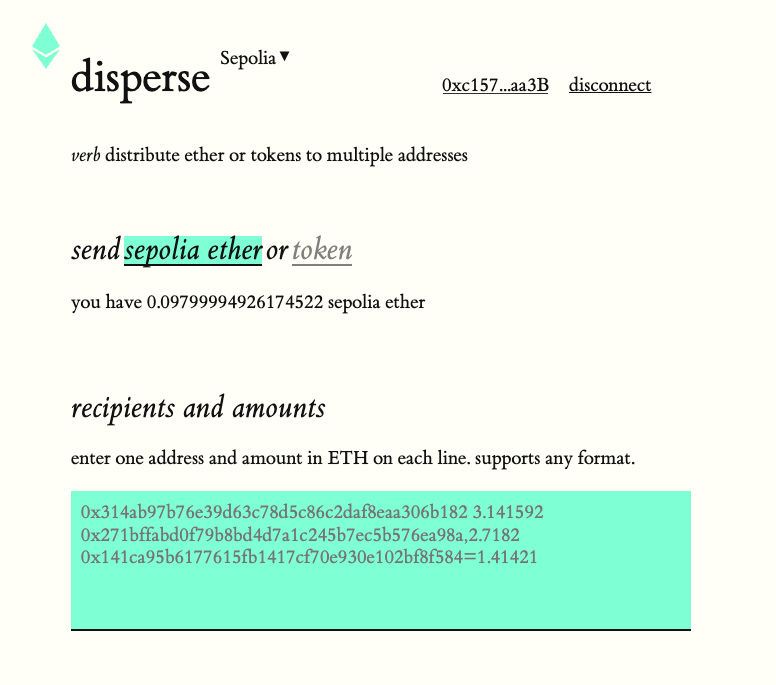
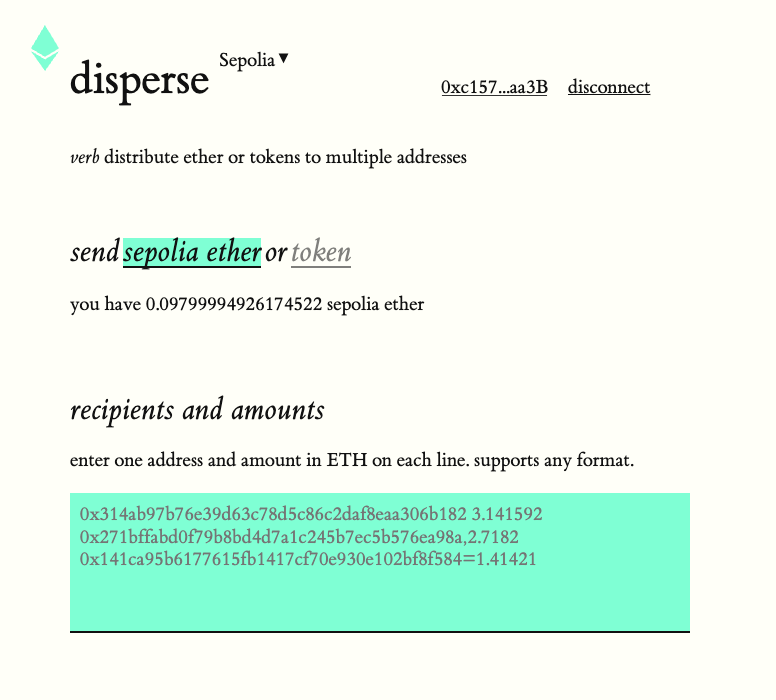
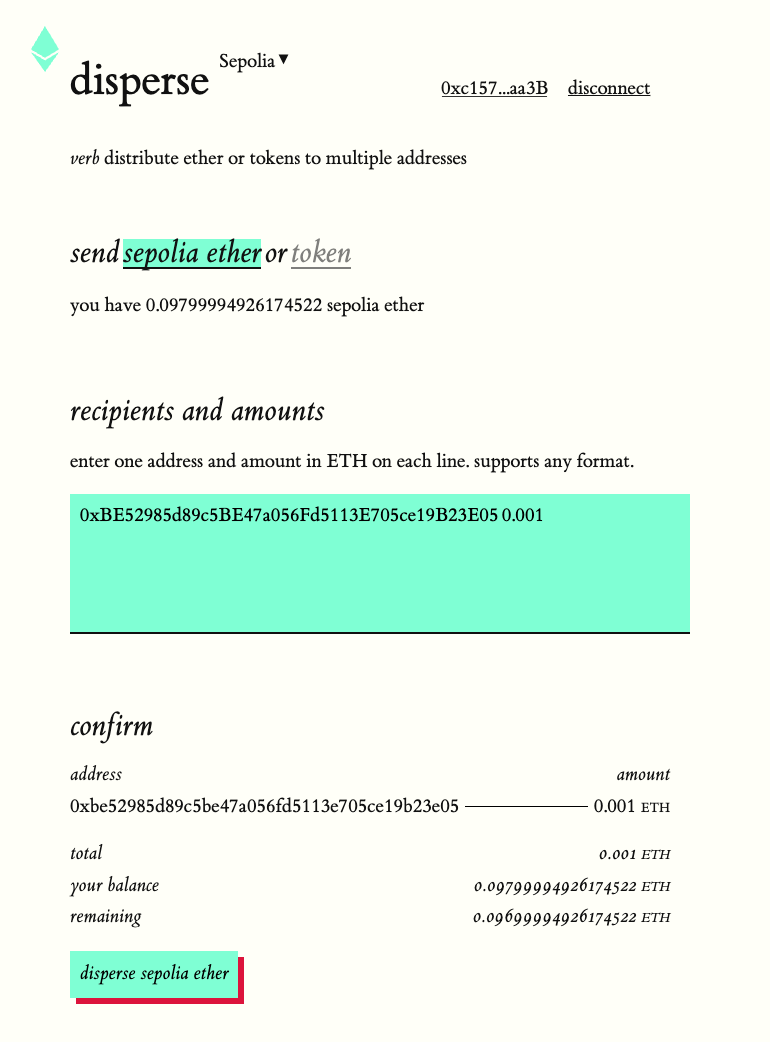
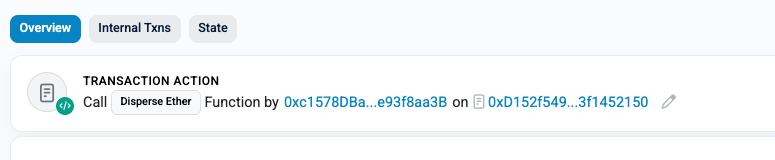
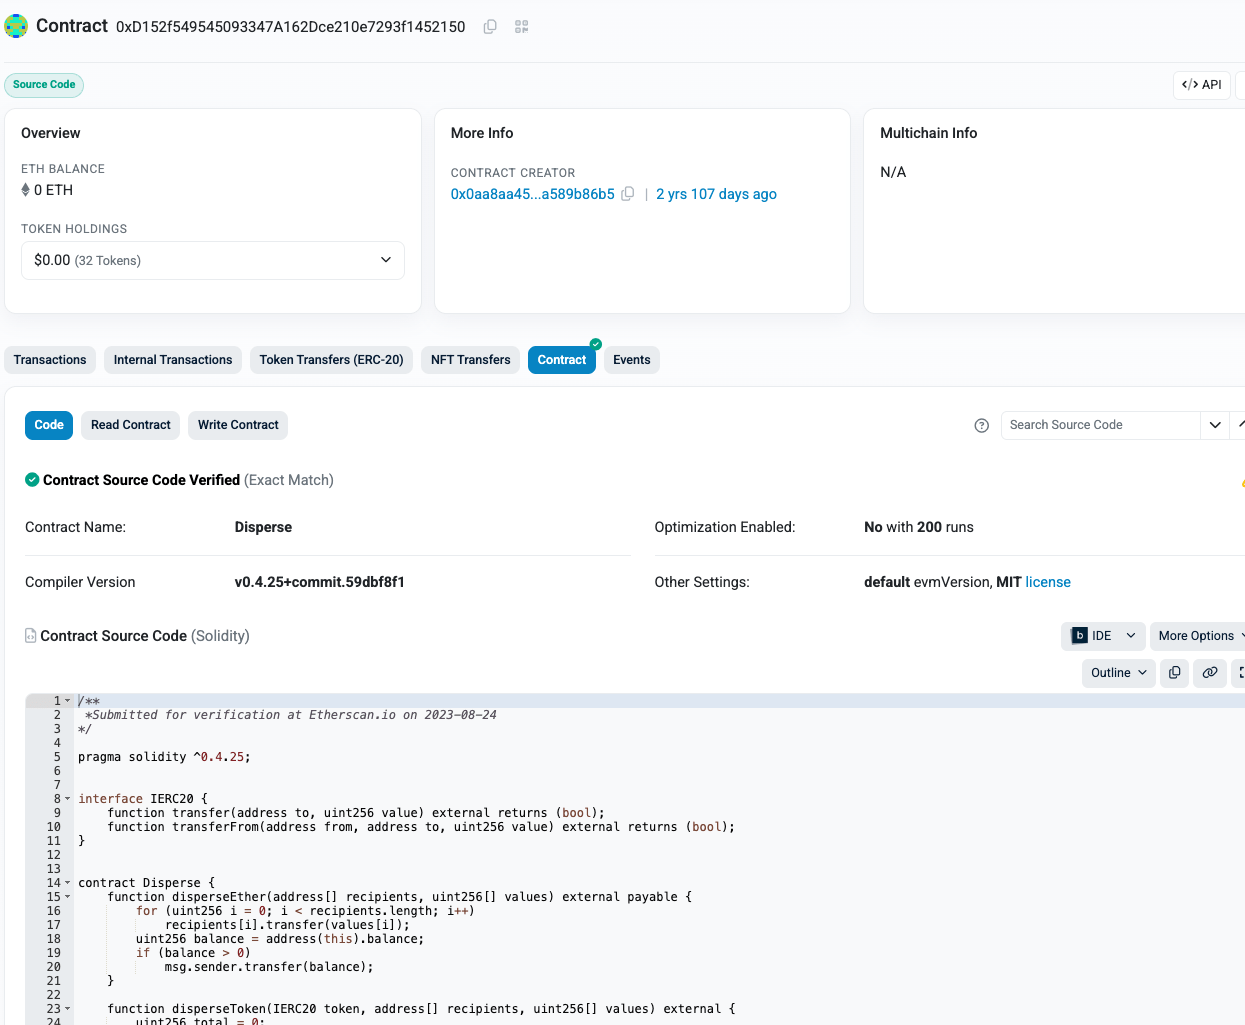
Part 3: Using a Smart Contract (Airdrop)
Using a simple smart contract
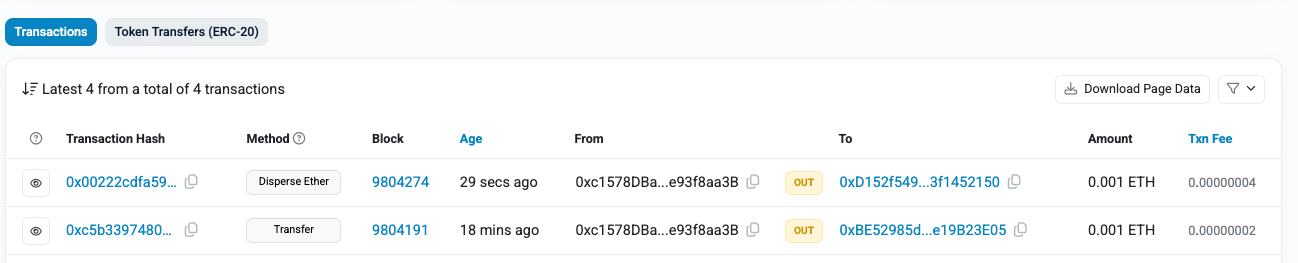
click on the transaction
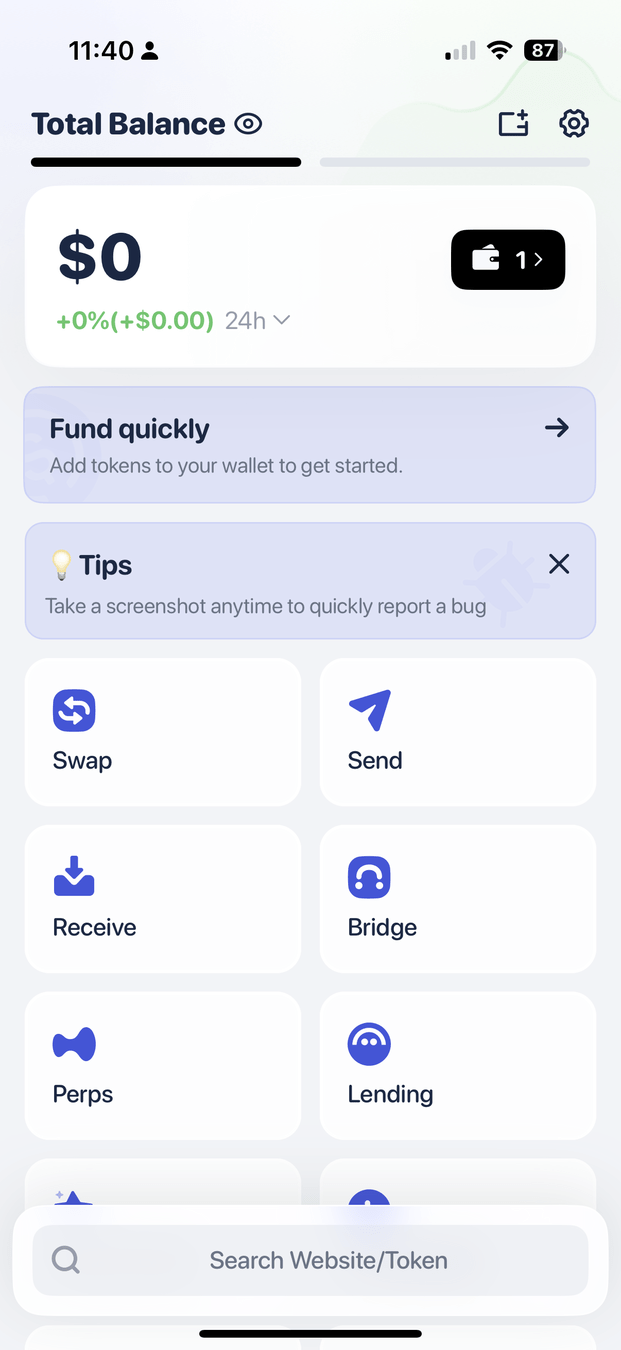
Part 4: Connecting the Mobile Wallet
Optional: iOS wallet
you may want to add Sepolia here like on the desktop
Please note that the wallet may not show you your Sepolia holdings but you can definitely see them when you use "send"
By Andreas Park
Participants create a blockchain wallet, obtain test tokens, and conduct transactions on Ethereum’s Sepolia test network.


