Making of my Cover page.
So after I chose the picture for my cover page I began with the making of my magazine.
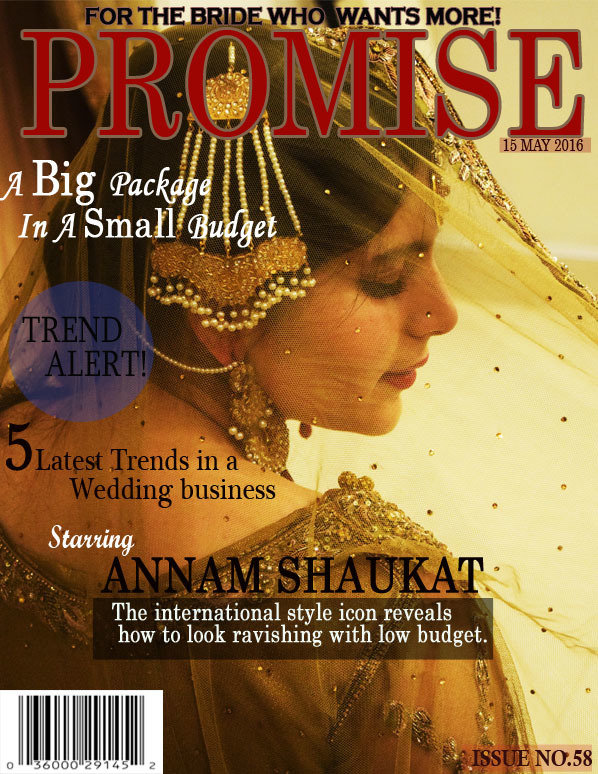
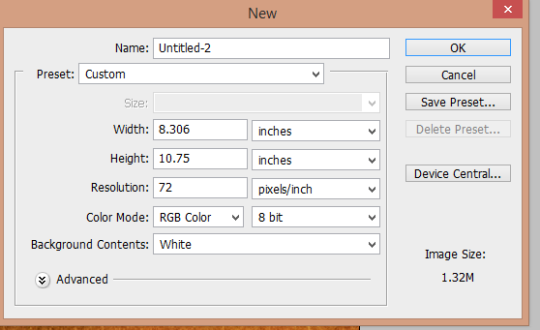
This is how it all began. Firstly, I chose my magazines size which is 8.3/10.75 because its the most economical size.
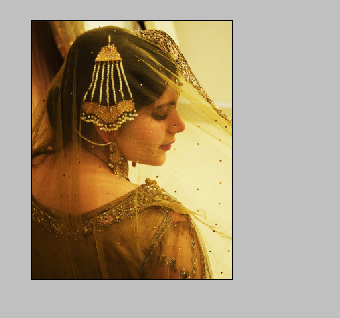
The next step was to add the cover picture and fixed its size using ‘control T’. This is a mid closeup taken from the back.
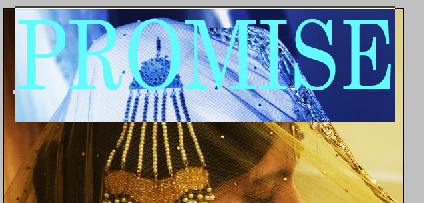
Then I added the masthead ‘Promise’ and fixed its size accordingly. I used the ‘century’ font to keep my magazine simple and unique.

Next I added a tagline because it will attract more customers. I chose the colour black to make it standout in contrast to the golden background and I used the same font as the masthead; century.

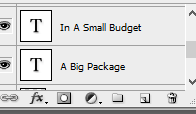
Then I added the main cover line which is the models name as my cover story is a guide by her. So, I wanted to create a link.
This appears on the right side of the screen in photoshop. These are called layers which helped me edit anything at any time.
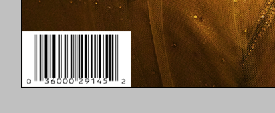
I added a barcode because I believe that without it the magazine looks empty. So its a must.
Next I added an issue.

This is the tool bar and with its help I easily made my magazine. I used almost all of tools the move tool, crop tool, text, shapes, colours and so much more.
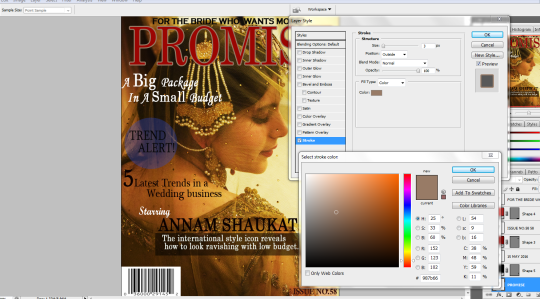
I added an outline around the letters of the masthead to make it look prominent and this is how I did it.
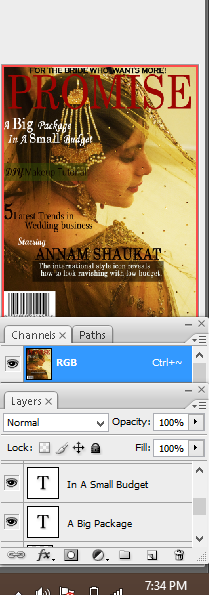
This appears on the right side of the screen and with the help of this I changed the opacity, added in more features, deleted the unnecessary layers. In short gave a final touch to my magazine.
deck
By ramsha